

How to Shelve & Store Your Online Inventory PART 3: How to Assign Locations to Inventory
In Part 1 of this series we discussed how to set up shelving and in Part 2 we talked about labeling your shelves. Now it's time to assign shelf locations to your inventory. Let's begin -
A lot of companies use scanner systems, but this is not practical for businesses who have 1-of-this and 2-of-that. If you like scanner systems and want to use them, that's GREAT!!! It will help prevent human error however you will have a larger time investment creating and printing barcodes in addition to scanning. If you don't want to have to scan-in and scan-out, here's how you gotta do it.
Every item you list needs to have a SKU (Number) assigned to it. If you do not have a number assigned you WILL end up shipping the wrong merchandise, and the more you grow, the more inventory you will get in and the easier it will be to ship the wrong stuff! So, you want to create basic labels. These do NOT need to be fancy. You can print these as wallet-size images, 9 per page, on plain pc paper:
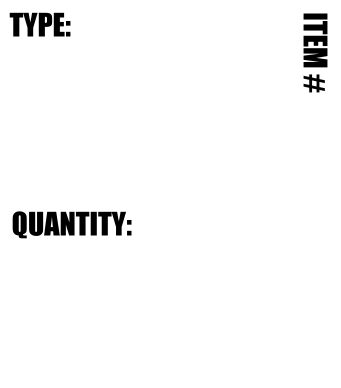
When you list an item, fill out the slip:
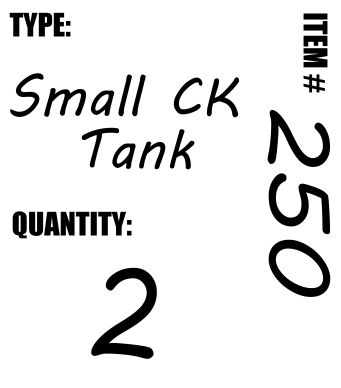
Apply the slip to the product. I would absolutely suggest keeping your items in boxes or bags because you don't want them to get dusty. The reason the slip is so important is because it allows you to know WHAT you shipped AFTER you shipped it. For example, if a customer orders 19 things then claims you didn't ship 1 of them, you will be able to look back at your records and see that you did ship it! Also, since the items are inside of bags or boxes, you need to know WHAT is in the bag or box, so, for example, if the buyer purchased a Blue Purse and you see that the slip says Small CK Tank, you should know you are about to ship the wrong merchandise.
Next, every time you list an item it needs to be assigned an exact shelf location. You also need this shelf location to appear on your Packing Slip so you know where to pull it from.
The first item I am going to shelve is a purse. I am going to put the purse on C-4-4:
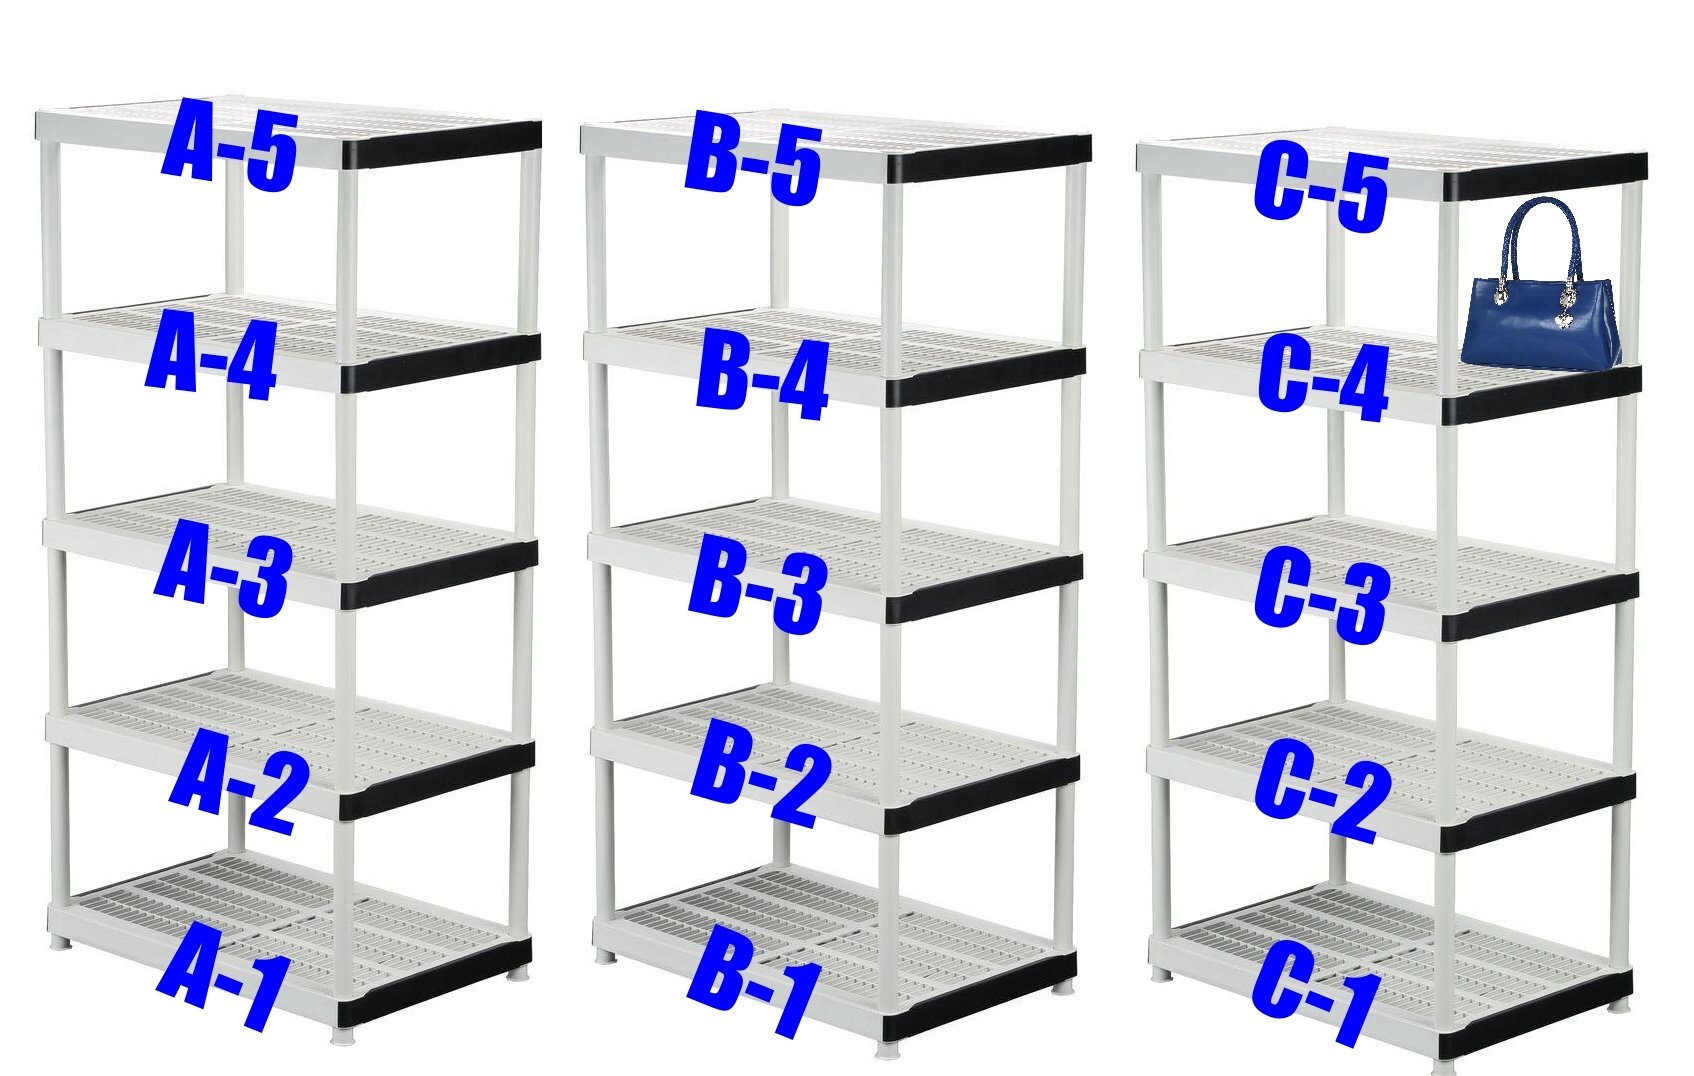
Next I am going to add C-4 to my listing so when it sells I know to pull it from C-4.
Then I am going to shelve this soccer ball:
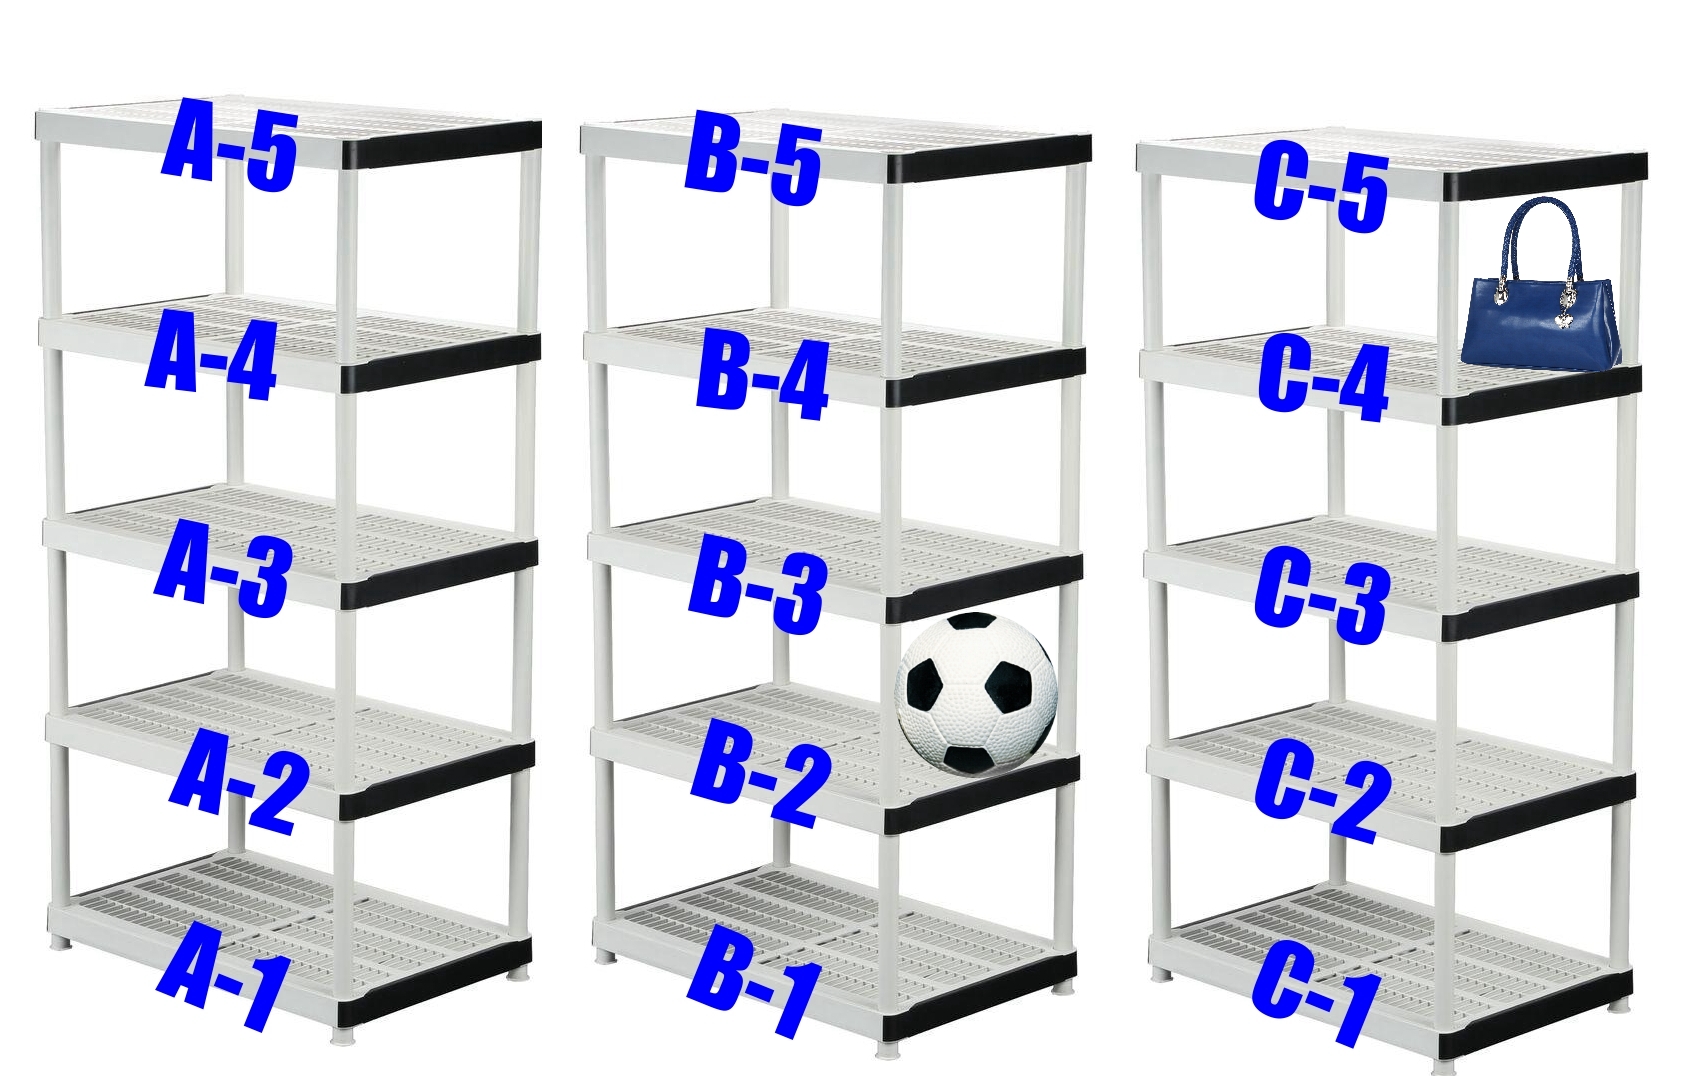
The soccer ball is going on B-2. Eventually you will have a lot of stuff with locations!
Now, when the soccer ball sells my packing slip will say B-2. I will go to B-2 and pull the soccer ball. I will then remove the paper slip from the item and attach it to my packing slip for MY records. I will then store all of my packing slips so if I need to look back at an order I can easily find it and know exactly what shipped, how many I had in stock and how many should be on the shelf.
check out our other Amazon & eCommerce detailed guides:
- Top 5 Reasons You Aren't Getting Ungated on Amazon
- Amazon Ungating Checklist
- What is a Purchase Order & How to Get One
- Check out our Free Amazon Ungating Terminology Dictionary!
- What is a BOL and How to Find Yours
- What is a PRO Number and How to Find Yours
- How to Get a Resellers Permit / Resale Certificate
- What is an EIN and How to Get One
- What is an LLC and How to Get One
- How to Create an Awesome Company Logo FAST and FREE
- Help! My Inventory is Priced Super Low and Still Isn't Selling!
- Learn About Our Invoices
- Download our Contract Terms Document for Free: https://bigbrandwholesale.com/faq/questions-about-invoices/terms-download-document/?ctk=1296275b-acaa-4553-9425-750ba3dd68b2
- Or, TOUR OUR WAREHOUSE https://bigbrandwholesale.com/about-our-warehouse/
Recent Posts
-

WhatNot LIVE AUCTIONS LIQUIDATION EVENT! October 15th - Nov 12th!
We are doing a MASSIVE liquidation auction event on WhatNot! Every TUESDAY from October 15th thr …2nd Oct 2024 -

MASSIVE NEWS! 4 HUGE UPDATES Coming to Big Brand Wholesale.com!
We have TONS of exciting news! Check out our Facebook video from July 12th 2024 (below) then keep r …22nd Jul 2024 -

3 COMPANIES PRETENDING TO BE BigBrandWholesale.com! DO NOT ORDER THROUGH IMPOSTERS!
IMPOSTERS! BE CAREFUL!! DON’T BE FOOLED! We now have at least 3 different people PRETENDING to …23rd Dec 2023