
")
Online Sellers: How to Store Clothing After You List It (EASY!)
If you are an online seller, it is imperative that your merchandise is stored correctly. A couple weeks ago we discussed How to Shelve and Store Perfume and Body Care, but today we are going to discuss Clothing. Let’s get started!
When storing apparel there’s 5 goals
1. Eliminate Odor - if you’re a stay at home seller, I assume you cook dinner. Dinner odors can permeate clothing over time. Nobody wants their new blouse to show up smelling like bacon or fish.
2. Eliminate Humidity - If you are using your basement as a storage area, you absolutely want to prevent that musty basement smell.... I know that you know exactly what I'm talking about!
3. Protect the Inventory - It would be awful if the pair of Levis showed up with a dead spider on the crotch, or a moth hole or even some dust from sitting. We have even dealt with floods here in Michigan! It would be the worst thing EVER to lose all of your inventory because of a mega-heavy rain!
4. Protect the Color - If your merchandise is being stored in a bright area, the sun will eventually bleach the merchandise.
5. Prevent Wrinkles - Let’s face it, whenever we list something, we have no idea if it will sell today, tomorrow or in 11 months, maybe even longer.
With that in mind, here’s exactly how to store your clothing items:
SMALL ITEMS
Small items are kids garments, hats, gloves, scarves, womens tank tops or lingerie… small stuff. After you list these items put them immediately into an opaque poly mailer and seal the bag completely
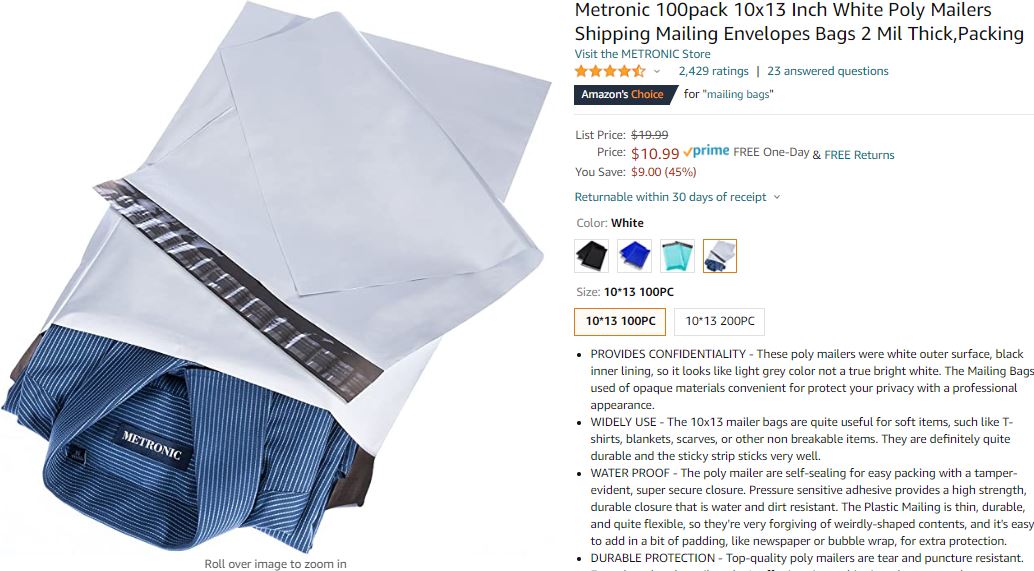
There’s no point in getting cute, fancy mailers. Just get cheap, plain white ones.
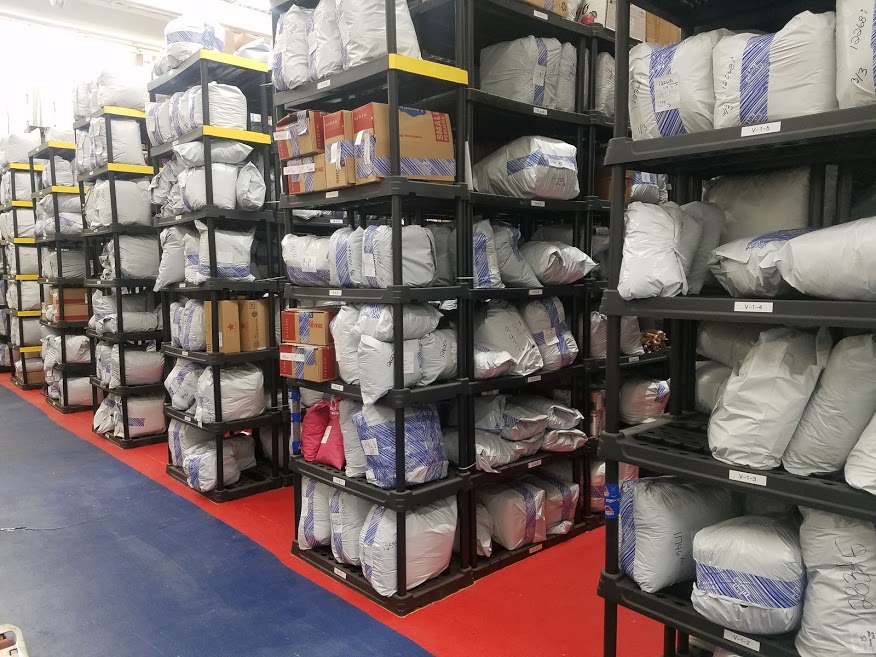
Eventually you will end up with this, but on a smaller scale:
Since these are small, pick up some 6x9” poly bags and some 10x13” or 12x15”.
Next, label the bag with your SKU (item number). Hopefully you read our article about Creating Shelf Locations for Your Online Merchandise. If you haven’t read it, make sure you do! So let’s assume you do have shelf locations, you will then put your numbered bag onto the shelf and assign it a location.
If you absolutely want to use clear plastic bags, make sure you are putting the bags (with the SKU number on them) into a Rubbermade bin (or similar):
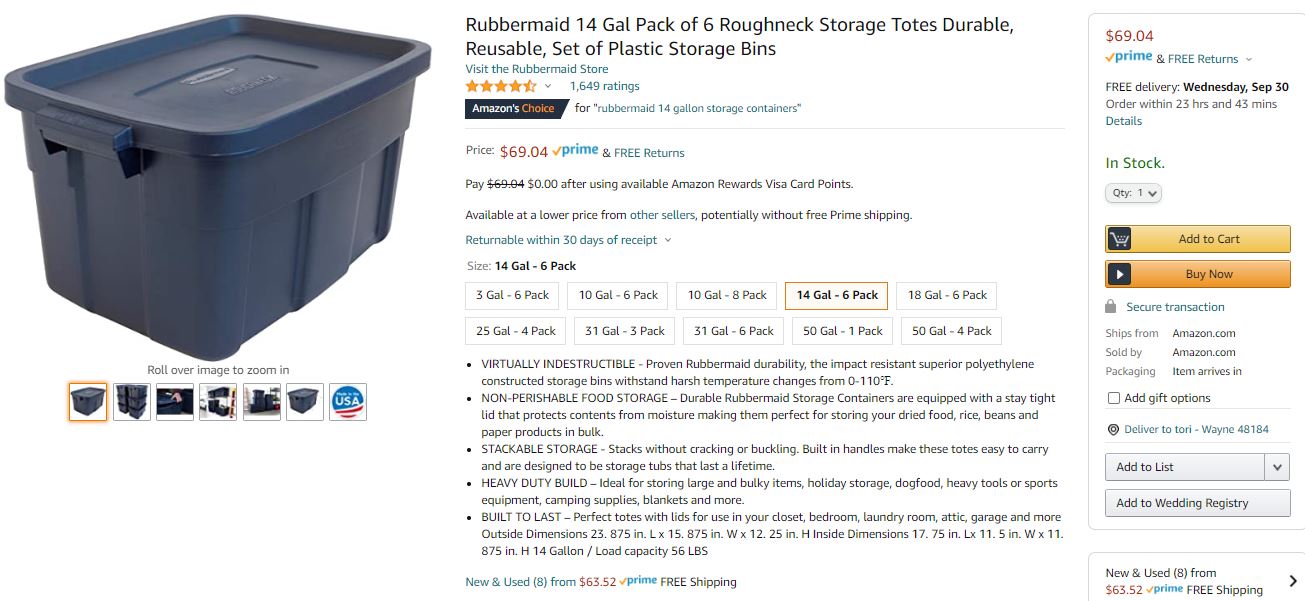
If you look on Amazon, grab the Used ones and save a couple bucks - simply look in the corner where it says “New & Used” prices:

The Used bins might have a scuff or something, but who cares?!?! If you can pay $63 (=$10.50 per piece) versus $69 (=$11.50 per piece) you save a dollar per bin! Regardless of which type of bin you pick, your goal here is to block out all light and pests. Yes, we ALL have bugs in our houses and warehouse. Remember when we found the snake in our warehouse?
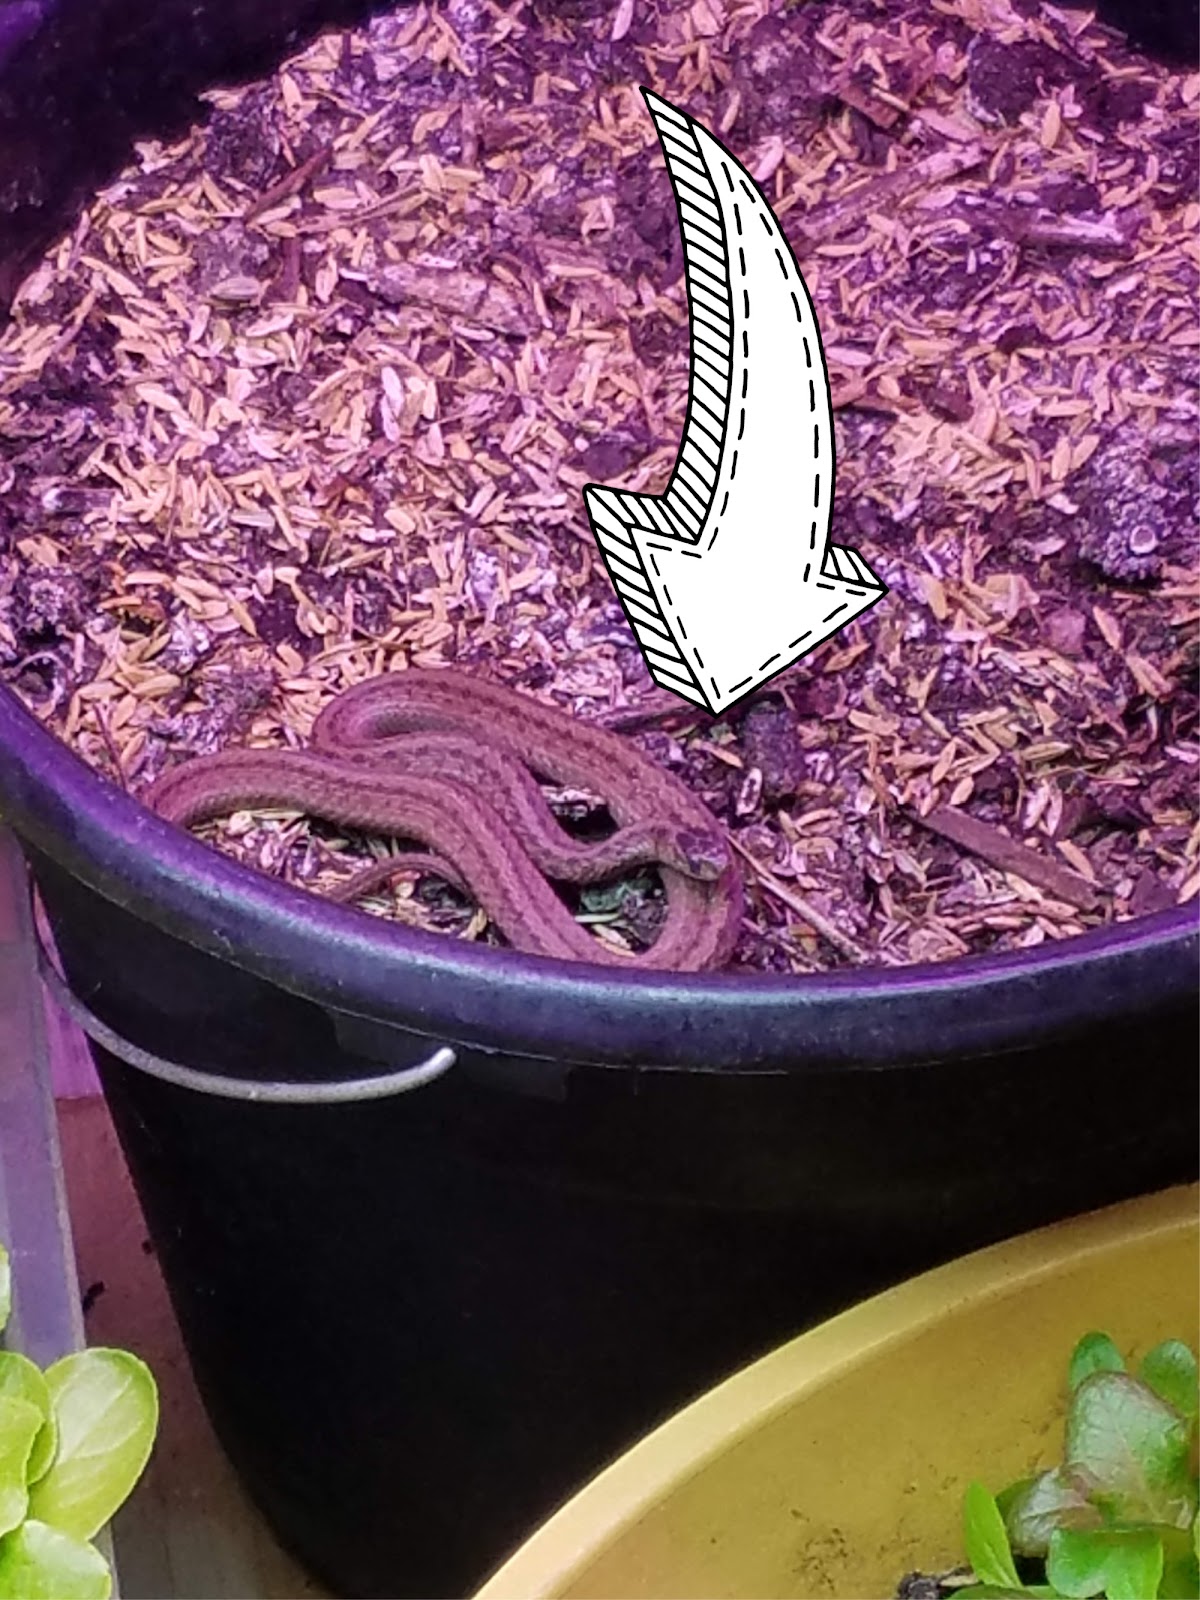
This little fellow found some way to sneak in during the middle of the Polar Vortex! He was a cold little guy, begging to live. He stayed for about a month; just sitting under a grow light, in a pot we had just planted basil seeds in. Then he left one day and we have never seen him again. Every winter I wonder if he will come back. My point is, you don’t want a stray snake slithering across your Victorias Secret pushup bras.
Since you want to store multiple items inside each Rubbermade Bin, a simple solution is to buy cheap dry erase boards so you can write the sku on the outside of the bin:

The Dollar Tree usually has Dry Erase boards but we ordered a multi-pack off Amazon because, let’s be honest here…. It’s just easier to order off The ‘Zon than drive somewhere.
Or, you can do the same with masking tape because it peels right off the bins when you sell that specific SKU, so it also makes labeling and re-labeling super simple:

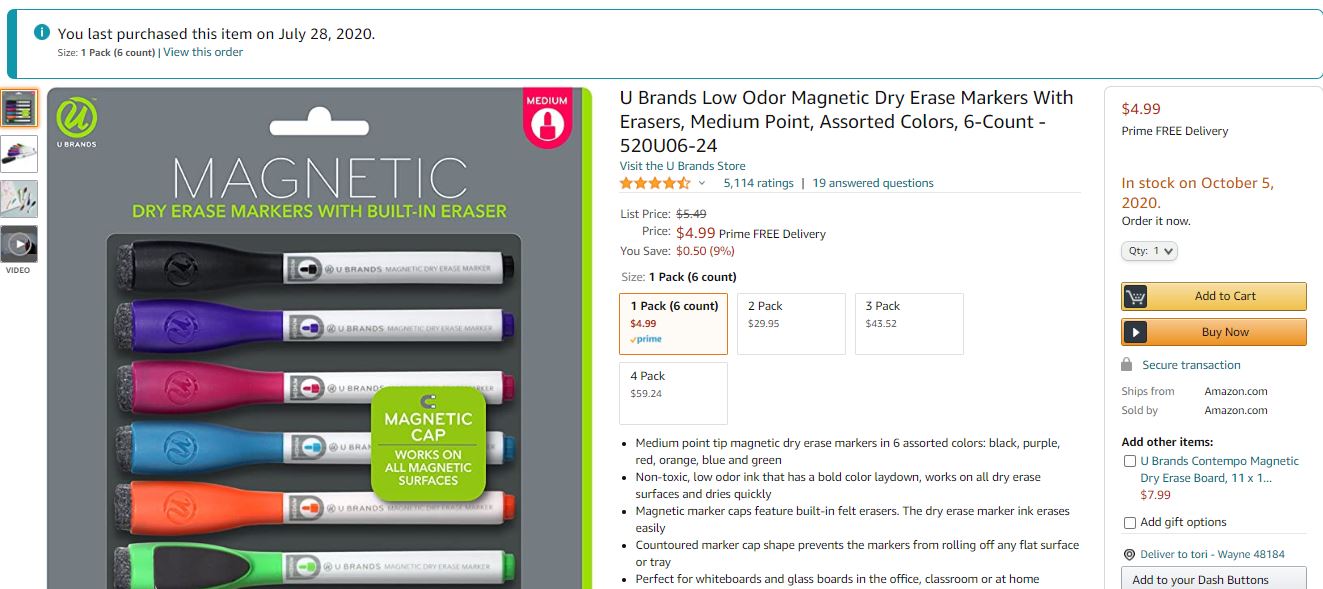
but long-term, dry erase boards are cheaper. If you want awesome dry erase markers to go with the dry erase boards, we love “U Brands” products :
MEDIUM ITEMS
Stuff like a hoodie, a sundress, a pair of jeans; Fold these using THE ROLL METHOD to eliminate wrinkles then put these into an OPAQUE poly bag, assign a SKU and a shelf location.
Since these items are medium size, I suggest purchasing 14x19” poly bags.
LARGE ITEMS (2 OPTIONS):
If the item is really big, like a parka coat, an evening gown or similar, the best option is to create an area / shelf location designed for large items that can hang. Basically, make a clothing rack and have this be a new shelf location. You can then put these giant items into clothing bags and assign your SKU to it and the shelf location can be the clothing rack. When purchasing clothing bags make sure you get “BLACK Garment Bags”. This will keep the light out and provide protection:

BUT If you’re super broke and don’t want to buy clothing bags, use a trash bag! Put the garment onto a hanger then slide the trash bag over the item. Poke the hanger through the BOTTOM of the trash bag. Then tie the open end of the bag in a knot:

Those jumbo plastic bags work best for this.

There is no reason you can’t reuse the same trash bag many, many times.
OTHER STUFF
Sometimes you get items that don’t fall into any of these categories. Usually due to being oddly shaped. In this instance the best thing to do is double-up your poly bag(s) to create one long poly. If you can’t do that, the last option is to put the item directly into a Rubbermid bin and use marking tape to write the SKU on the outside of the bin.
Recent Posts
-

WhatNot LIVE AUCTIONS LIQUIDATION EVENT! October 15th - Nov 12th!
We are doing a MASSIVE liquidation auction event on WhatNot! Every TUESDAY from October 15th thr …2nd Oct 2024 -

MASSIVE NEWS! 4 HUGE UPDATES Coming to Big Brand Wholesale.com!
We have TONS of exciting news! Check out our Facebook video from July 12th 2024 (below) then keep r …22nd Jul 2024 -

3 COMPANIES PRETENDING TO BE BigBrandWholesale.com! DO NOT ORDER THROUGH IMPOSTERS!
IMPOSTERS! BE CAREFUL!! DON’T BE FOOLED! We now have at least 3 different people PRETENDING to …23rd Dec 2023