How to Customize Your INVOICE
We do not offer manifests or databases. If you are looking for spreadsheets, here's a list of 59+ wholesale companies that provide this.
If you wish to order through us there are many customizations you can make to your invoice. These customizations must be made BEFORE you click "Confirm Order". Let's go through all of the different customizations you can make.
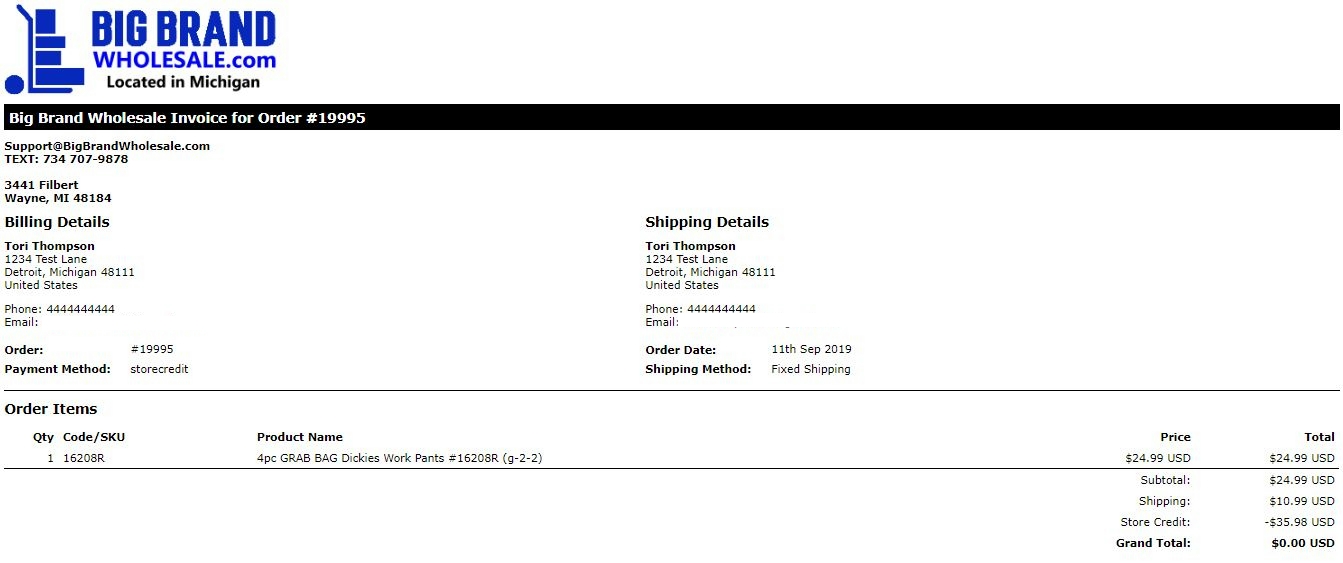
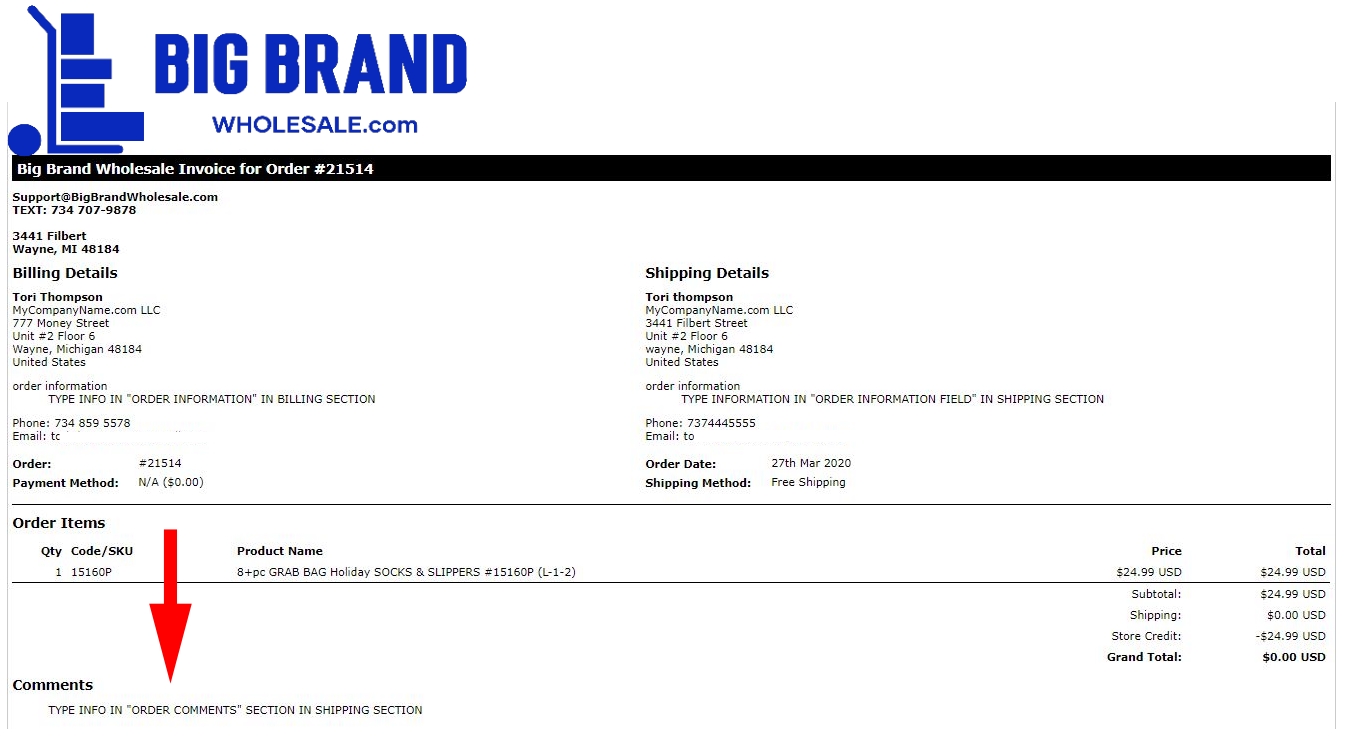
This is what our basic invoice looks like:
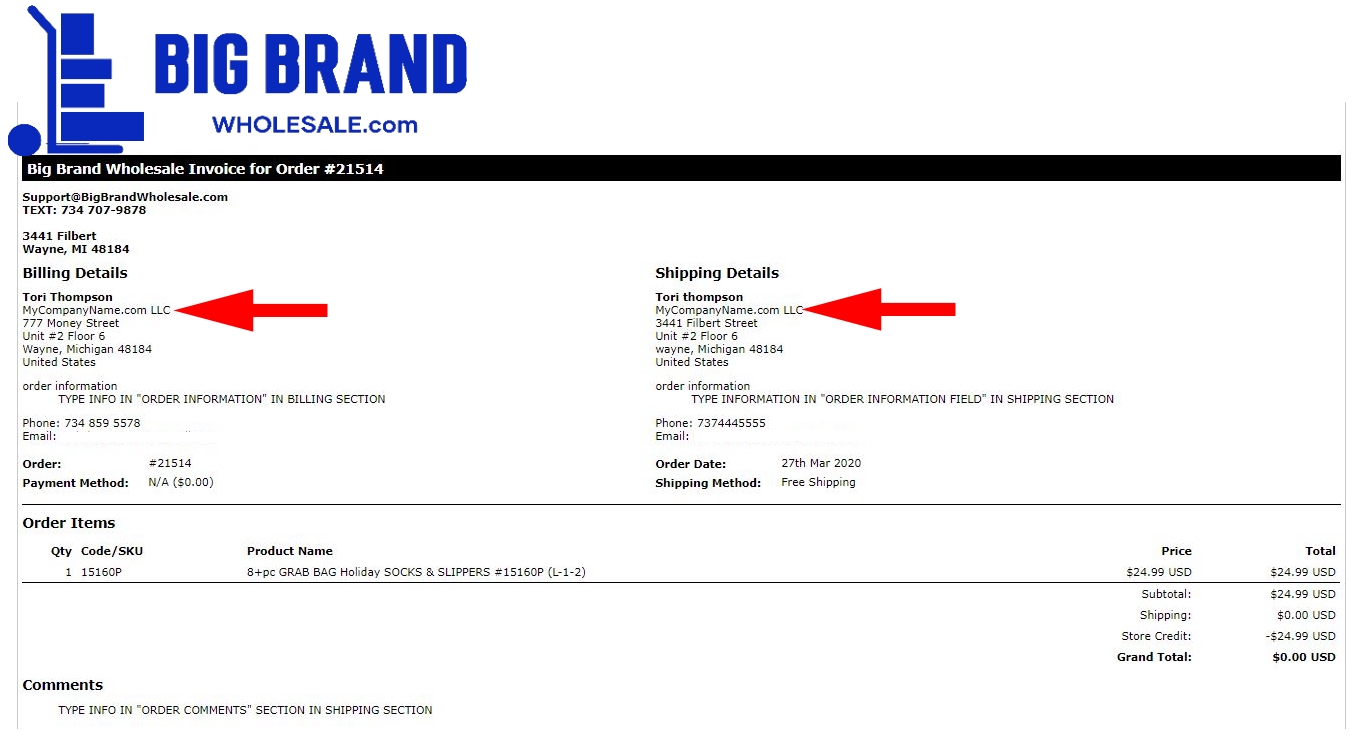
The invoice contains all of the basic information needed on an invoice. However, you can add:
Click here to learn how to add your company name to invoice.
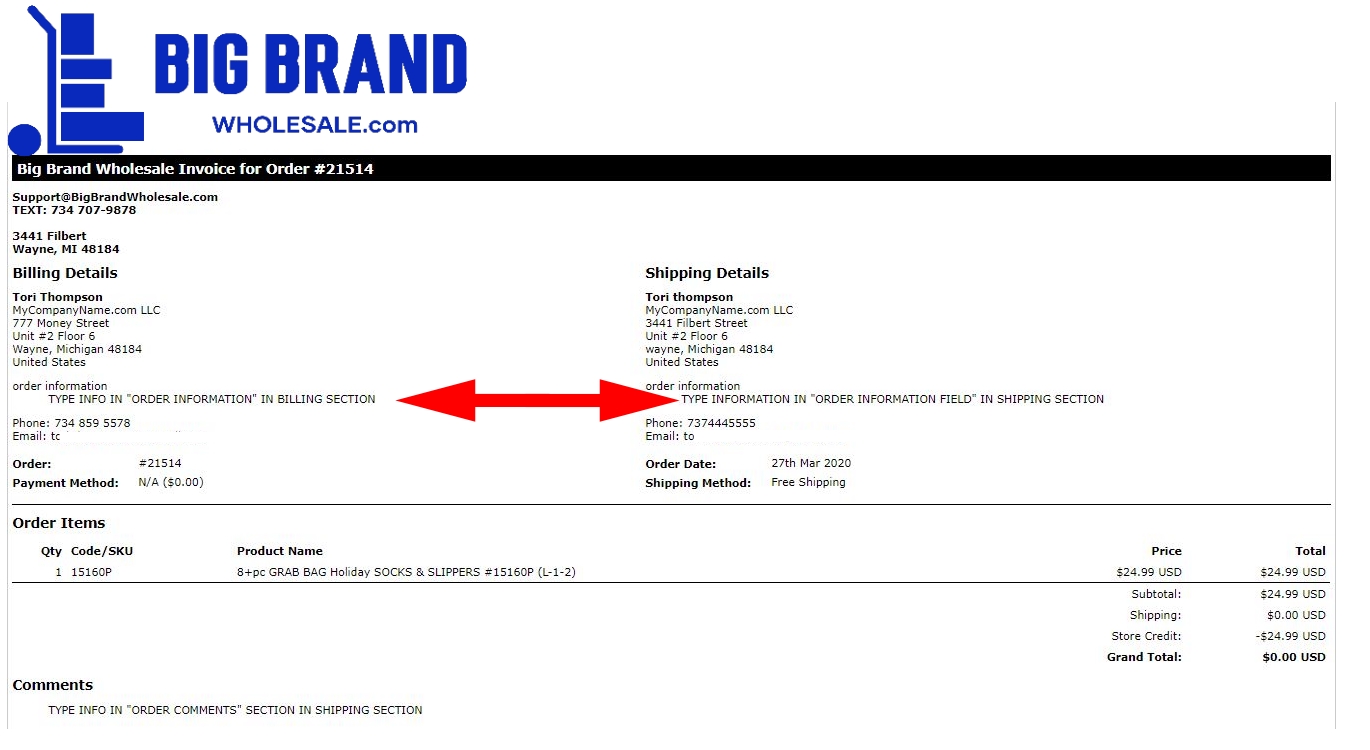
You can also add information to the Billing and Shipping Sections:
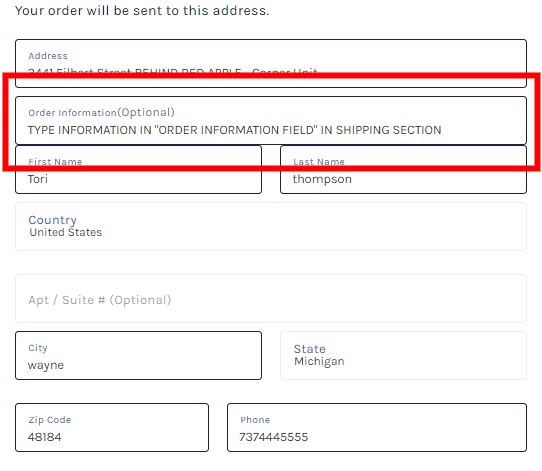
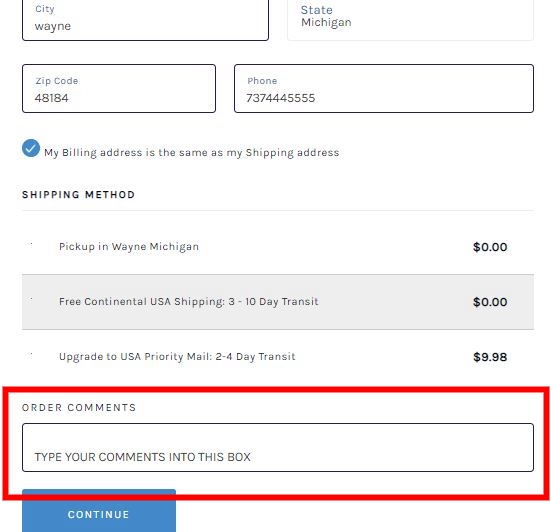
You can make these customizations during checkout. Here is what checkout looks like: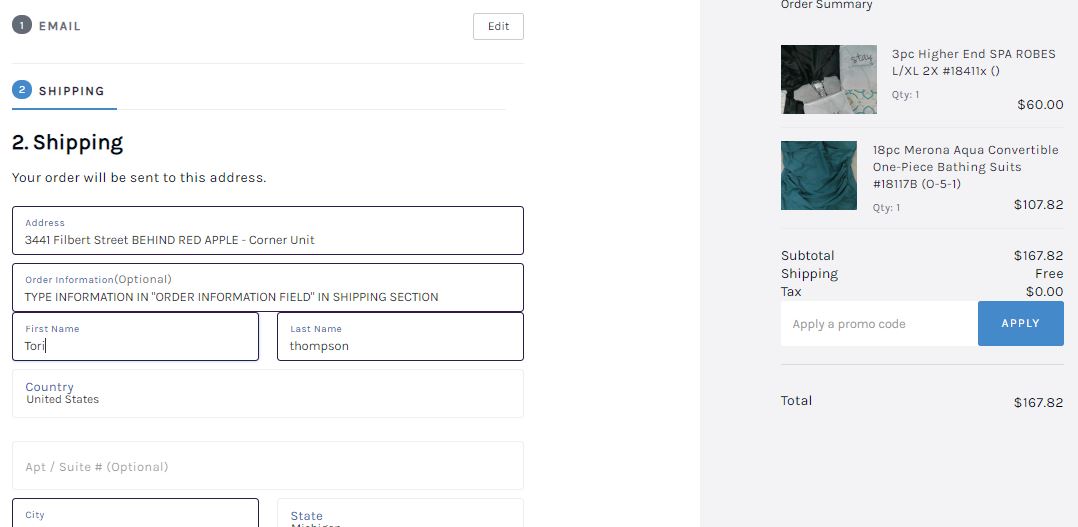
As you can see, there is a space to "Add Comments:
We currently do not have a way to offer a manifest within the invoice. However, you have several options:
1. Assign your PO Number (Purchase Order Number) to the invoice before you checkout. For example, let's say I want to buy a 30 Piece Womens Lucky Brand Sweaters. I will make my PO Number "20-15664523A". I am going to type "PO: 20-15664523A" into the Comments field. Then, when the merchandise arrives, create PO 20-15664523A and make the manifest. You can enter your PO Number into any of the Customization Fields shown above. Learn more about PO Numbers here.
2. You can type "See Attached Manifest" into the field. Then, when your merchandise arrives, you can create your manifest and attach it as a 2nd page.
3. You can use the UPC we provide and enter it into the customization field of your choice.

