

Clothing Has a Hole, Snag or Stain? How to "Destroy" it to Create a Custom Look!
If you bought Liquidations, Store Returns or Salvage merchandise you likely discovered a hole in a beautiful tee or tank. Obviously you can’t sell it with a hole but you CAN customize it by adding more holes to create an awesome “Destroyed Look”. Let’s get started!
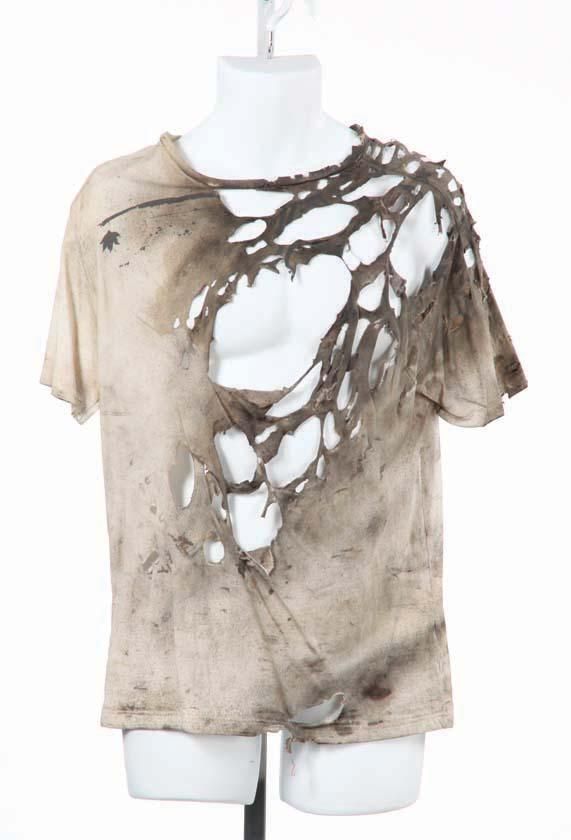
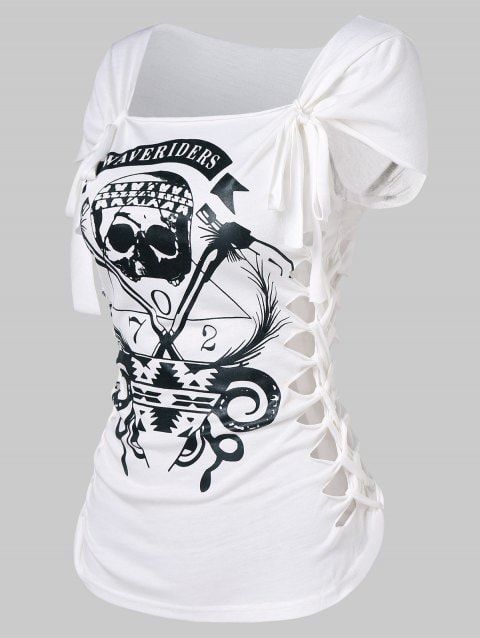
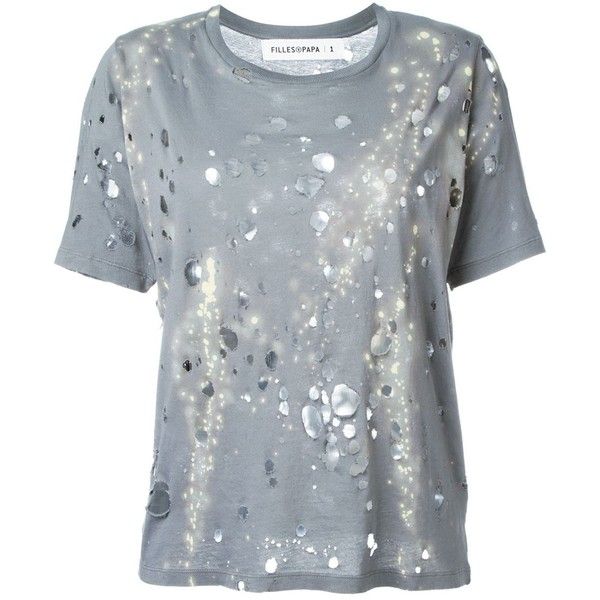
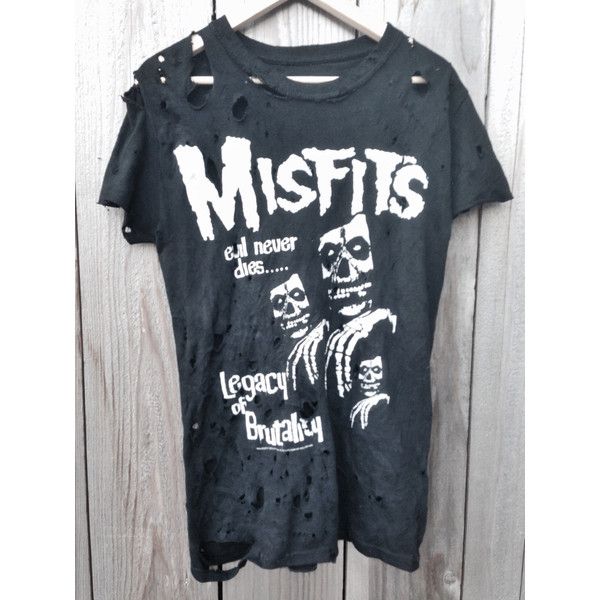
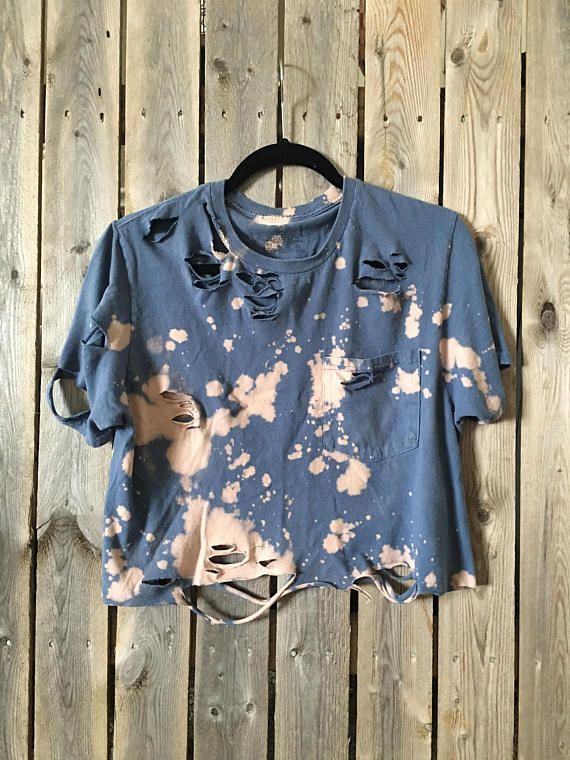
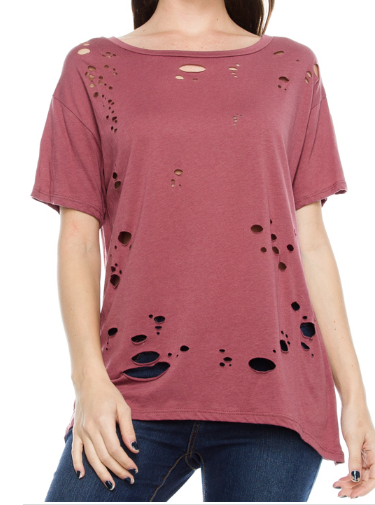
For inspiration, there’s all different styles of “Destroyed Tops” (and jeans, shorts… you name it!). Here’s a couple examples - the look you want to aim for depends on where your hole is located and how big it is:
The 4 major supplies you will want to “Destroy” your shirt is going to be these couple items:
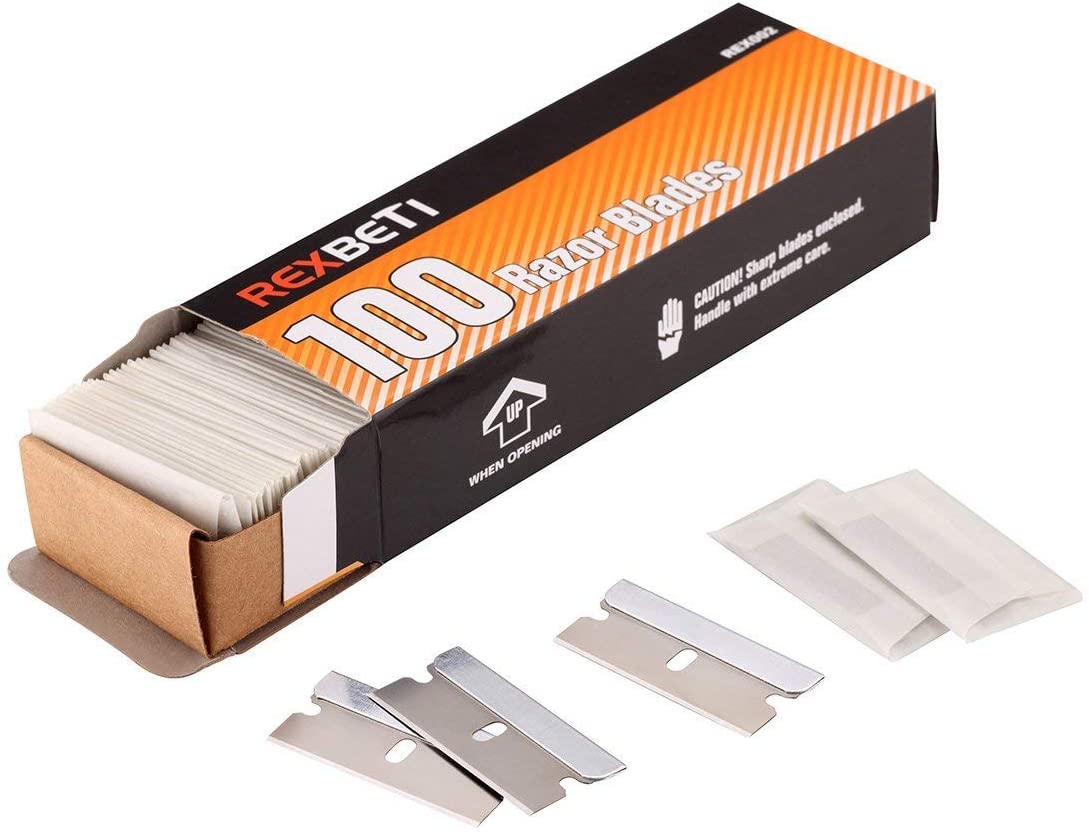
- RAZOR BLADES. I use these exact ones in my day-to-day life. They’re under $13 on Amazon with totally free ship. Very nice quality!
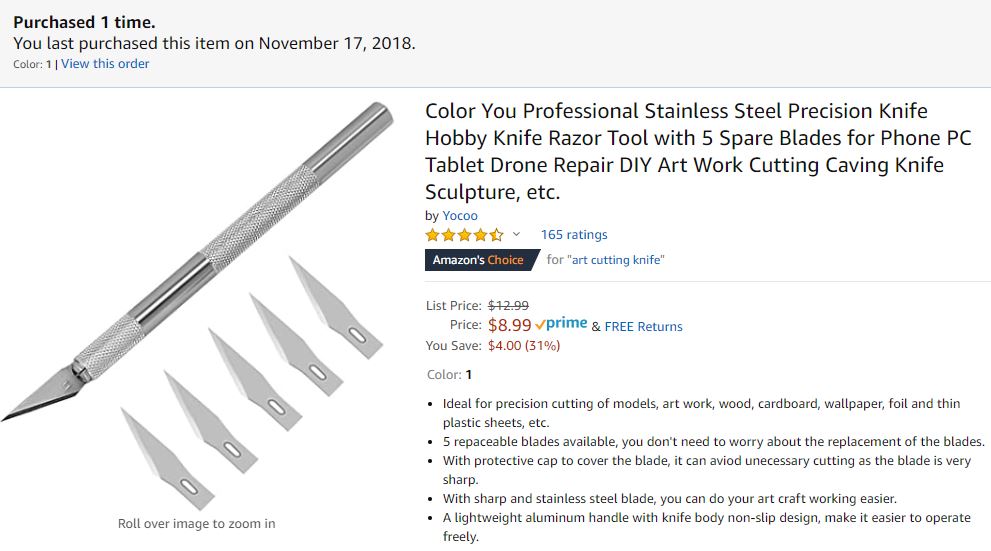
If you prefer you can go with a handled razor blade. Personally, I prefer the flat ones shown above but I do own both styles:
2. Good Scissors! Not the junk scissors that you have been using to cut everything from tin foil to art projects. You can get a really awesome pair of Fiskers scissors for under $7! NOTE: It is CHEAPER to buy 2 individual Fiskars for $6 than to buy the 2-pack for $17!!!:
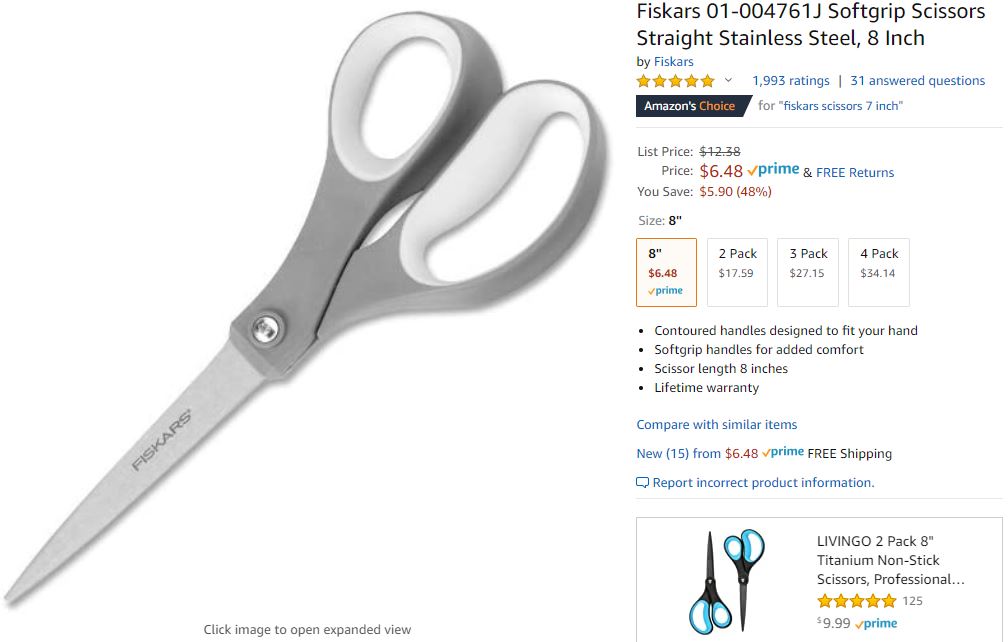
If you choose to use “junk scissors” you will NOT get clean cuts and the material of the shirt will look like crap. Trust me, I’ve done it and regretted it! So get 1 pair of Fiskers and keep these only for fabric.
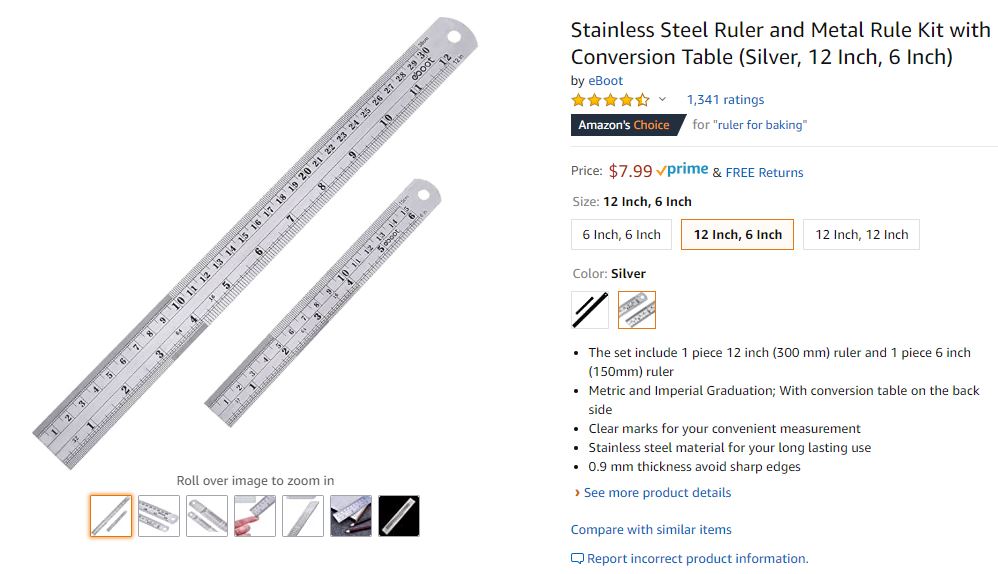
3. You need a RULER / MEASURE STICK; the type that is hard, not the tape measure that rolls up. This will not only help you measure but you’ll use it as a guide so you get perfect cuts every time. This is a great Lot that gives you two different sized rules:
And lastly you can pickup a Fabric Marking Pen / Pencil. SPECIFICALLY, you want to make sure you get one that “disappears” if you do not want to have to wash your garments to get rid of the markings:

Although, MOST destroyed shirts look even better after a couple washes (because the holes start to stretch out and it truly becomes “destroyed”), you may not want to wash the item. So it really just depends what your objective is. Just keep in mind that is IS going to look different after a wash or two.
DEPENDING ON WHAT STYLE YOU ARE CREATING, your tutorial may call for Fabric Glue. Tutorials are shown down lower in this same article. We suggest watching the tutorial you like first because you might not need glue at all. If you do need glue, the best is Elmers Fabric Glue:
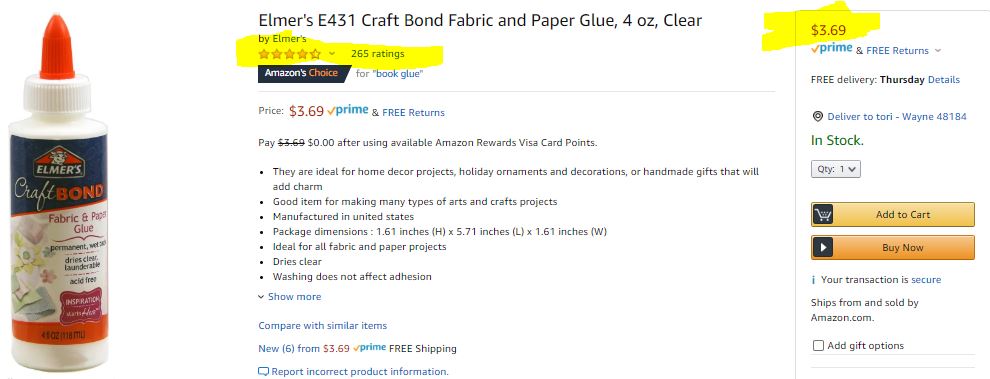
Definitely do NOT use “regular glue” because it will wash out! Also, super glue is VERY STIFF and your buyer will hate the item due to discomfort. Fabric glue is specifically designed for fabrics.
OPTIONAL ITEMS -
If you want to jazz up your top even more: patches, gemstones / hotfix, or even fabric spray dye paint.
You also want to make sure you are cutting your clothing on a solid surface. Never cut on top of your nice table, carpet or couch. “Self Healing” cutting board made for projects like this are excellent. If you don’t want to buy anything else you can probably use a cardboard box or your actual kitchen cutting board - just make extra sure these items are fully clean before use.
There’s TONS of tutorials online - YouTube is a goldmine of ideas! Here’s a couple that I really liked for HOLES ON FRONT AND / OR SHOULDER / NECKLINE AREA:
If you’re trying to cover a hole on the BACK of the shirt, here’s a few phenomenal ideas for ya:
If you gotta deal with a hole or rip in the SHOULDER of a shirt, check this one out:
Recent Posts
-

WhatNot LIVE AUCTIONS LIQUIDATION EVENT! October 15th - Nov 12th!
We are doing a MASSIVE liquidation auction event on WhatNot! Every TUESDAY from October 15th thr …2nd Oct 2024 -

MASSIVE NEWS! 4 HUGE UPDATES Coming to Big Brand Wholesale.com!
We have TONS of exciting news! Check out our Facebook video from July 12th 2024 (below) then keep r …22nd Jul 2024 -

3 COMPANIES PRETENDING TO BE BigBrandWholesale.com! DO NOT ORDER THROUGH IMPOSTERS!
IMPOSTERS! BE CAREFUL!! DON’T BE FOOLED! We now have at least 3 different people PRETENDING to …23rd Dec 2023