Selling at a Flea Market Guide: PART 3 How to Lay Out Your Space
In part 2 of this article we taught you how to choose the right flea market space so todays lesson will be how to layout your flea market space. Let’s get started!
When designing your space there’s three things you gotta consider:
- You are there to MAKE MONEY. The more inventory you can stock, the more money you will make.
- Your inventory cannot become confusing clutter
- Theft is a HUGE problem. People come to flea markets just to steal. Sad, but true. Every product that is stolen is a huge loss for you because you spent time ordering it, you paid for it, you shelved it and now you’re spending time looking for it.
With that being said, our goal is to create a SECURE space that offers the maximum amount of inventory possible.
I am going to assume that you read the last part of this series and that you have chosen to move forward with the Double, back-to-back space. From birdseye view, it looks like this:
Since you’re getting two spaces that are likely approximately 10’L x 5”W, you now have 20’ x 10’ to work with! Let’s take out the center line so it is easier to see. Here’s the empty space:
Now comes the fun part, let’s start designing!
Your layout needs to be based on what you plan to sell. All small things or expensive things HAVE TO BE SECURED. You have a couple options (don’t worry, we will review all of these options in more detail in this series!).
Showcases
Showcases are best bought used off Craigslist or at "Going Out of Business Sales". You can get some ugly showcases dirt cheap and paint them so they look nice.
Table Top Showcases
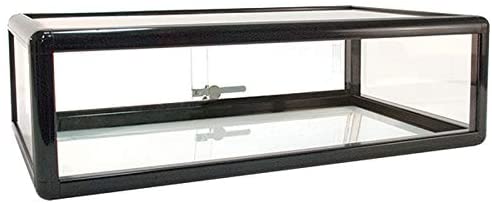
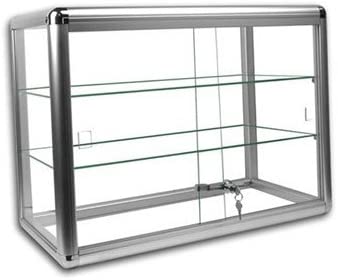
Table top showcases are easier to move than full size showcases. Here's a couple great examples of table top showcases:
This one is $149:
You can view tons more awesome styles by looking at this Amazon Seller, called "Only Hangers". They offer really nice stuff at low prices.
OTHER OPTIONS FOR SHOWCASES
Build (or buy) a plexiglas box. Home Depot sells plexi pretty cheap. Learn how to save money at Home Depot.
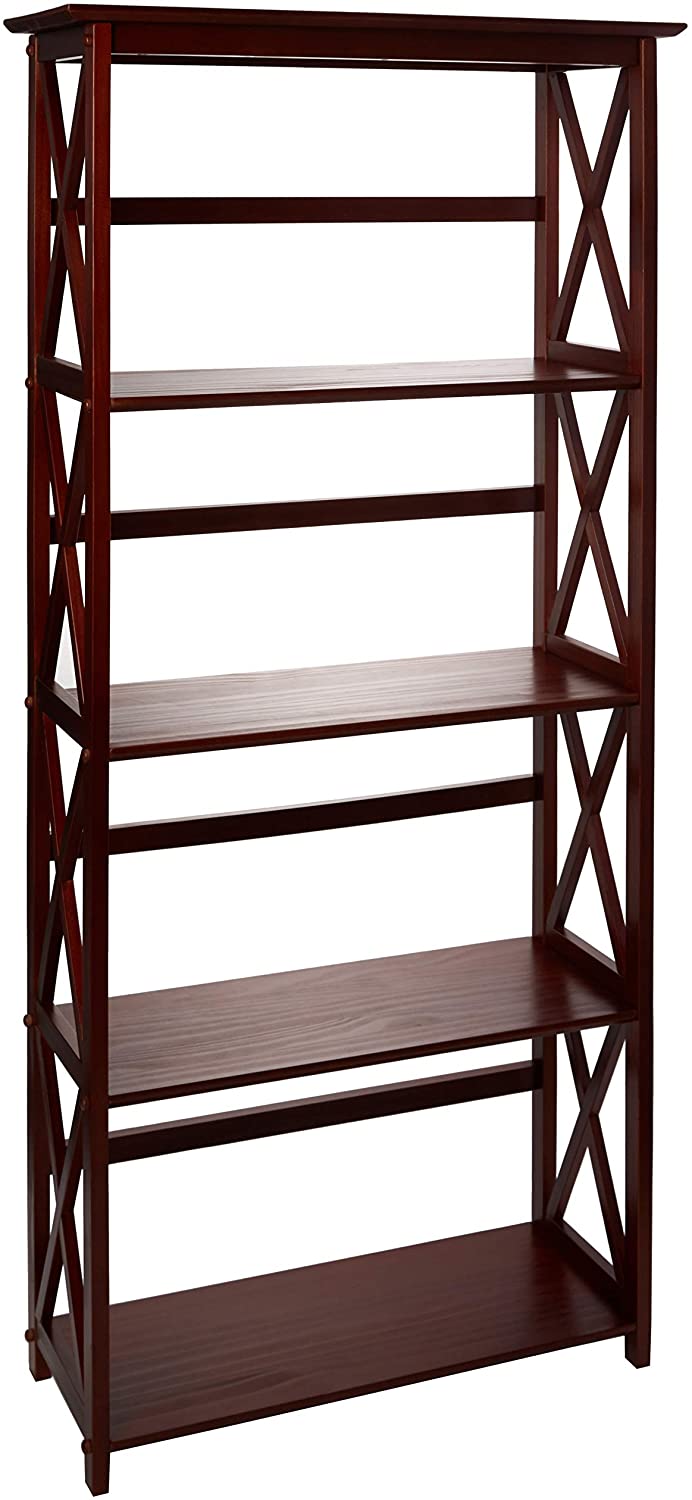
Another option that is really friggin simple that I figured out was to take a shelf and make the back panel Plexi. A shelf like this is perfect:
The shelf shown above is $80 on Amazon, but look at all the space you get! This kind of shelf is perfect for everything from purses to body care. You don't need to plexi the sides, just find a way to make sure nobody can reach through them. Heck, you could duct tape them if you're super broke. TIP: You can easily hang plexi using high quality velcro if you want it to be temporary. Alternately, you can use the same types of hardware that you would use to hang a mirror. If you really want to drill through the plexi you MUST very carefully make a hole in it with a sharp bit. If you drill directly into it, it will crack!
- Expensive clothing should go on your back gridwall. Cheap clothing can be accessible to the public.
- ALL body care and makeup MUST be not accessible to the public.
- Purses can be accessible to the public but you should chain them to something solid.
- Expensive purses should never be accessible.
- Shoes are a nightmare as a whole. You will end up with a LOT of damage (scuffs, scratches, dents, broken heels, smelly feet as a whole, dirty feet stains and dirty shoe-bottoms from people wanting to walk in the,). I would suggest not selling shoes unless it’s something super cheap like sandals or slippers.
For demonstration purposes, we are going to assume you are selling a variety of things.
Our first goal is security. In the image below, the brown rectangles represent tables / showcases / fixtures / clothing racks or whatever they end up being:
You would work from the inside of the square:
Recent Posts
-
WhatNot LIVE AUCTIONS LIQUIDATION EVENT! October 15th - Nov 12th!
We are doing a MASSIVE liquidation auction event on WhatNot! Every TUESDAY from October 15th thr …2nd Oct 2024 -
MASSIVE NEWS! 4 HUGE UPDATES Coming to Big Brand Wholesale.com!
We have TONS of exciting news! Check out our Facebook video from July 12th 2024 (below) then keep r …22nd Jul 2024 -
3 COMPANIES PRETENDING TO BE BigBrandWholesale.com! DO NOT ORDER THROUGH IMPOSTERS!
IMPOSTERS! BE CAREFUL!! DON’T BE FOOLED! We now have at least 3 different people PRETENDING to …23rd Dec 2023


